Hero guide
Dungeonbound Mage Guide: Lightning, Frost & Fire Subclasses
The Mage is not one hero with three skins. Lightning, Frost and Fire each keep their own purchases, so the school you invest in is the school you play. Here is how to choose one without wasting the others.
On this page +
One hero, three progression tracks
The Mage is one of the seven Long Haul heroes, but it branches into Lightning, Frost and Fire subclasses. The official page is clear about the important part: each keeps its own purchases, so switching is the respec. You do not delete the Mage to try a different school.
That design has two consequences:
- You cannot accidentally soft-lock the Mage. If Fire stops working, you can switch to Frost and use the Frost track you already built.
- You can waste a lot of currency by spreading thin. Three partial schools are not a flexible Mage; they are three unfinished Mages.
The right mental model is a save slot per school. Pick one as your main, and treat the other two as funded experiments - not as a single combined build.
Mana is a real constraint
Casters started with 15 Mana after the October 25 balance pass. Some item triggers cost Mana; the official combat log shows a Sparkroot Rod that costs 2 Mana and grants +2 Attack while inflicting Stun.
That means a Mage board can fail in a way a physical board cannot: the engine can run out of fuel. A board full of Mana-hungry triggers looks powerful in the tooltip and does nothing once the pool is empty.
Practical rules:
- Keep one no-Mana damage source. A weapon or timed item that does not consume Mana keeps the fight moving while the pool refills.
- Watch the Mana bar, not just the cooldowns. If the bar is empty for most of a fight, your board is over-budgeted.
- Do not buy every caster item in the shop. Mana cost is part of the item’s price; a cheap trigger that empties the pool can be worse than a plain weapon.
- Treat Mana support as a slot. If a relic or item restores Mana, it is doing the same job as a damage item by letting the rest of the board fire.
We do not have a published Mana regeneration formula. Do not trust a guide that gives you an exact “Mana per second” number before launch.
The three schools as planning identities
The names map to tags the game already uses: Fire, Frost and Lightning. The safest way to plan is to build around the tag and the status, not around an imagined skill tree.
Fire - pressure that ticks
Burn is a damage-over-time status that ticks every 1.5 seconds (v0.1.46). It is the fastest of the confirmed DoTs, which makes Fire a natural pressure school: short cycles, repeated application, and a real threat to boards that want a long setup.
What to plan for:
- Burn wards block 50% of Burn damage (v0.1.46), so a Fire plan needs a second angle when the enemy has wards.
- Burn wants fights to last long enough to tick, but not so long that fatigue and healing reverse the pressure.
- A Fire board should know what happens when the enemy cleanses. If the answer is “nothing”, the board is a one-trick plan.
Frost - control through accuracy
Freeze lowers Dodge (v0.1.50). That makes Frost a control school rather than a pure damage school: it turns an evasive target into a hittable one.
What to plan for:
- Freeze is strongest when your board already has accuracy or multi-hit pressure to exploit the dodge loss.
- A dodge-only defence is a bad answer to a Frost board. Add Block or healing so the freeze does not collapse the whole plan.
- The Halloween patch buffed Freeze; the exact diminishing-return rules are not published.
Lightning - chain and multicast
Chain Lightning is confirmed on the Stormglass Charm (50% chance after v0.1.40). The game also has a Multicast mechanic; v0.1.50 changed Multicast to count from every source and show it on item pills.
What to plan for:
- Lightning is the school most likely to reward multiple triggers and chain effects, but the exact Mage kit is not public.
- Multicast is a force multiplier: it is only worth stacking if the underlying trigger is worth repeating.
- If a Lightning item relies on a status or a charge setup, place the setup earlier in the sweep. The board-building guide explains why order matters.
These are planning identities, not confirmed class skills. The official material names the schools and the tags; it does not publish the full spell list. We will not invent one.
Affinity is the cheapest damage you can buy
A hero’s affinity gives a bonus to matching gear. The official Flame Knight panel shows Fire +15% and Metal +15%; a rival panel shows Undead / Frost +15%. A pre-release reviewer measured a frost item at 39 damage without the hero’s affinity bonus and 47 with it - a hidden 20% gap.
For a Mage, that makes the school choice more than flavor:
- If you play Fire, Fire-tagged gear is doing more than the tooltip says.
- If you play Frost, a strong off-affinity item may still be worse than a mediocre Frost item once the bonus is counted.
- The Affinity Forge can change one of an item’s types to one of your hero’s types, which is a way to rescue a good off-affinity drop.
The exact affinity tags for each Mage subclass are not published. Check the hero tooltip in the launch build before committing; do not assume the school name guarantees the tag.
A sane Mage progression plan
- Pick one school before you spend permanent currency. Fire, Frost or Lightning. Write it down.
- Build the no-Mana floor first. One reliable damage source that works with an empty pool.
- Add one Mana-hungry payoff. A single high-impact trigger, not four medium ones.
- Match the tag. Buy the school’s gear when the shop offers it; let the affinity bonus compound.
- Add sustain. A Mage with no recovery is a race car with no brakes.
- Use the other schools as experiments. Switch when you have a specific question, not when you are bored.
- Do not copy a pre-release “best Mage” build. The class was affected by the October and November balance passes, and the launch build may change again.
Switching schools preserves each track, but it does not merge them. Gold spent on Lightning stays on Lightning. Treat the three tracks as three separate bank accounts, not one shared wallet.
Common Mage mistakes
- Splitting purchases across all three schools. You get three half-built Mages.
- Ignoring Mana cost. A board of expensive triggers stalls.
- Building a pure dodge defence. Freeze lowers Dodge.
- Buying off-affinity gear for the headline stat. The hidden affinity gap can erase the upgrade.
- Assuming the school name defines the kit. The official material names the schools; it does not publish the full skill list.
- Forgetting the board. A caster still needs space, sustain and a trigger order.
What we still don’t know
- The full skill and item pool for each school.
- Mana regeneration rules and whether Mana can be increased permanently.
- Each subclass’s exact affinity tags.
- Whether the Mage has school-specific class-bound gear beyond the general caster pool.
- How the three tracks interact with quests and achievements.
The hero database records what is confirmed for every Long Haul hero, and the updates timeline tracks the balance changes that affect the Mage.
Sources & verification
Checked 2026-11-15- 01 Dungeonbound on Steam Official Store description, feature list, modes, system requirements, languages and release date.
- 02 Dungeonbound 0.1.46: Halloween Update Official Pumpkin Head, Haunted items, co-op lobbies, Mythic relics, PvE-only climbs, status changes.
- 03 Dungeonbound v0.1.50: Potions, Runes & Late Game + 40k wishlists Official Rune rework, potion rules, new hero Jeiku, forged-item growth, fatigue, speed curve.
- 04 Dungeonbound v0.1.51 + 55k wishlists + 7 days until launch Official Pricing indication ($10-12), item shrines, fusion preview, Loaded Dice, Jeiku, QoL and fixes.
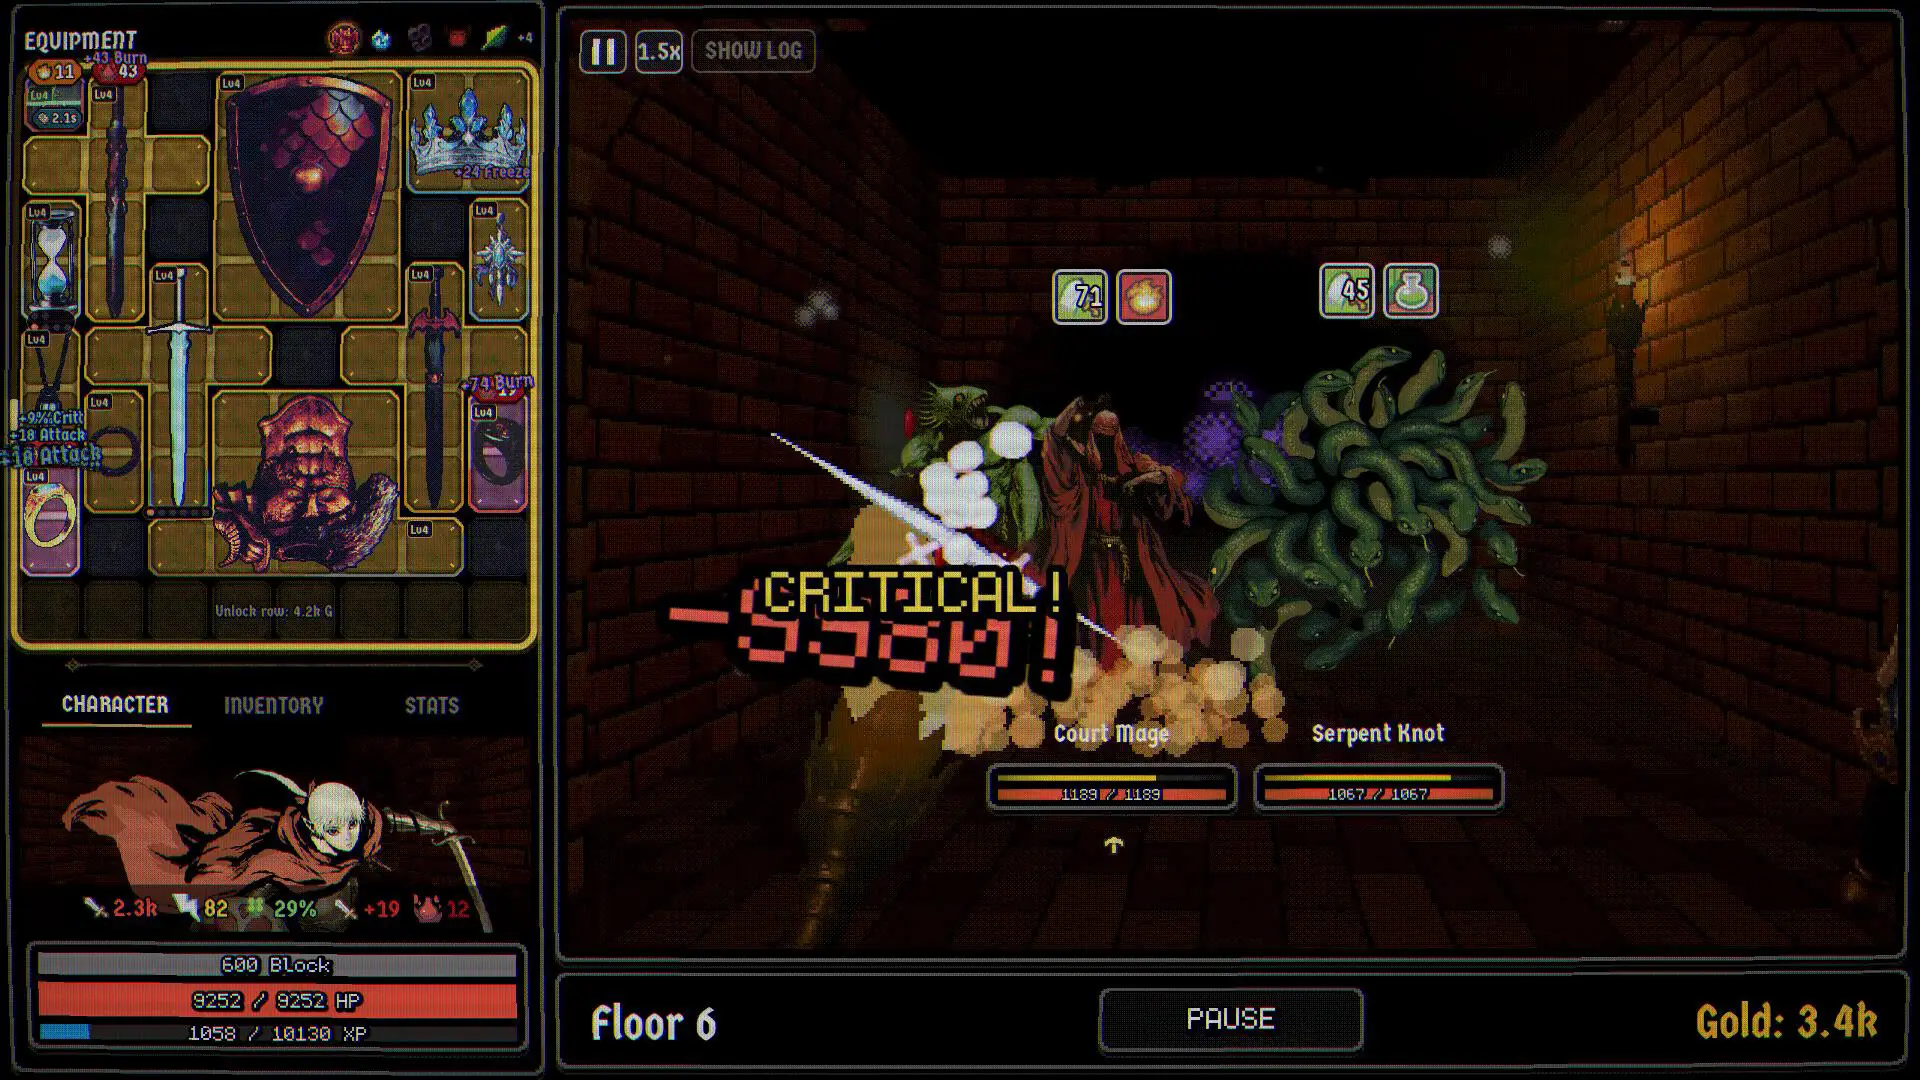
- 05 Official Steam store screenshot: combat and battle log Official screenshot Court Mage and Serpent Knot encounter, critical hit, burn and item trigger log.
- 06 Official Steam store screenshot: Unranked Climb roster and Flame Knight panel Official screenshot Roster names, Flame Knight stats, type bans, and the "stats vary by up to 15%" note.
Screenshots and patch notes reflect pre-release builds. Where the launch build differs, the source label tells you how much weight to give a claim.
Quick answers
FAQ
Does the Dungeonbound Mage have three subclasses? +
Yes. The official Steam page lists Lightning, Frost and Fire subclasses. Each keeps its own purchases, so switching is the respec rather than a restart.
Should I spread my Mage purchases across all three schools? +
Usually no. Each school is a separate progression track, so splitting purchases leaves you with three partial builds. Pick one school for your main plan and use the others for deliberate experiments.
What is Mana used for? +
Some item triggers cost Mana. Casters started with 15 Mana in the October 25 balance pass. If the pool is empty, the pieces that need Mana cannot do their job, so keep a no-Mana damage source while you learn.
Can I change my Mage subclass later? +
Yes. The three subclasses keep their own purchases, so switching does not erase the Mage. You return to the school's existing progress instead of starting over.
Keep reading